Tuesday, October 23, 2012

1 Spooky Banner, 3 ingredients!

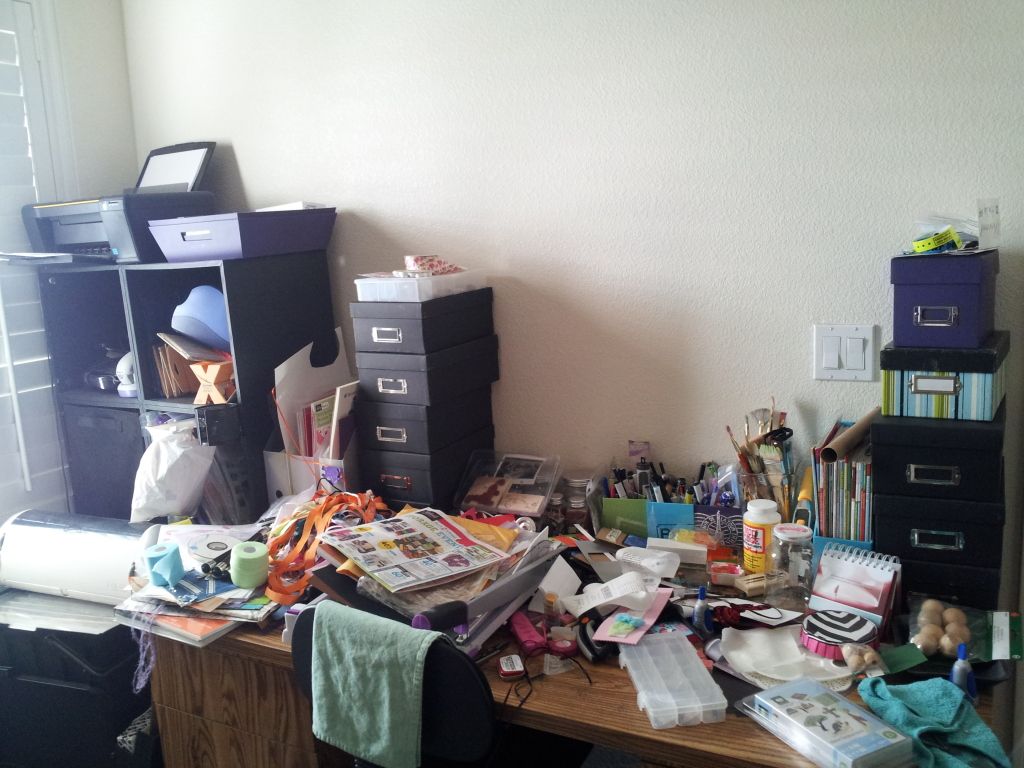
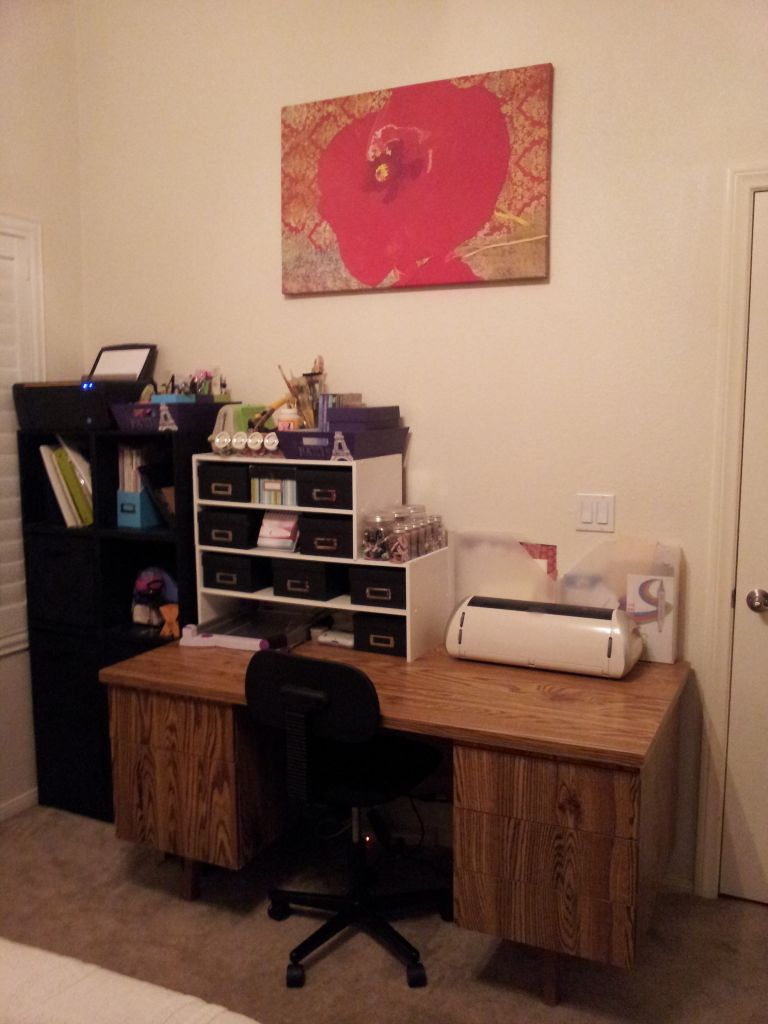
I have no time. Moving  then moving again a month later, children coming back home to roost...work, volunteering...aaahhhh!!! Am I supposed to have a love life??

My life is scary enough without Halloween...hehe.

Here is the banner I made for my office. I used K and Co Halloween paper pads, black cardstock, with both silver and purple stickles. All of my letters and images i cut on my Cricut using the "Frightful Affair" cartridge.

Simply cut your letters, mat on pattern paper that is matted on solid card stock. I rounded the corners as well. I cut black ghosts, and used them to attach the top letters to each other.

Using the left over patterned paper, attach the bottom letters to each other and then to the top letters.

If this banner is going to be in a high traffic area or get a bit of wind, make sure to use a strong adhesive, and adhere cardstock on the back to reinforce all of the connector pieces. Cut and attach spider webs.
Then using your desired color of stickles or glitter glue, outline the letters. I also used black for the ghosts' eyes and mouths, as well as the spider webs.

XOXO!
V.


Monday, October 22, 2012

My How the Time Flies, Part Deaux (hehe)

It seems like only a couple of weeks ago that I posted last...but alas, it has been MUCH longer than that!
With  the holidays coming and everyone so busy, pressed for time, pressed for money, pressed for energy... I thought I would share a simple and FUN recipe with you all. I hope you enjoy (I know my family gobbled it up!).

**Warning, I use Tastefully Simple spices and herbs ALOT. So please, if you need a rep, I have a great one, use your own, or improvise on the seasonings, just make the recipe, your fam bam will applaud you!**

Veggie Stuffed Meatloaf Cups -Wrapped in BACON!

Meatloaf mixture

(I usuall set out the meat and eggs on the counter while I do my prep work, so that they are not so darned cold on my hands when I get to the mixing part.)

1 Pound Ground Beef
4 Eggs
2/3 Small Can Tomato Paste
1/2 Cap Tastefully Simple Onion Onion
1 Cap Tastefully Simple Garlic Garlic
1 Tablespoon Italian Seasoning mix (or to taste)
2 Tablespoons Brown Sugar
    Salt and Pepper to taste....
1 Thick Slice of Bacon and a Toothpick for each "Meatloaf Cup"

Mix well by hand, set aside

Pan Preparation
 Carefully wrap the back of a 6-12 cup muffin pan with foil. You want to ensure that every part of the back is covered -to avoid sticking to the pan itself, and easy clean up (Ya'll know how I heart me some easy clean up!). Spray with cooking spray.

Cover the back of each muffin cup with a thick layer of the meatloaf mixture, and make sure you don't have too much meat on the flat of the pan between cups...

Once the meatloaf mixture is in place, then wrap a bacon strip around each cup and secure with a toothpick.

Cooking

Set Muffin Pan on an elevated cooling rackwith a large cookie sheet or pan underneath to catch all of the grease, then place it in the oven for 20-25 minutes at 450 degrees. (If necessary to get desired color and crispness, place pan under broiler for five minutes).

While this is baking, slice up red onion (or whatevr you have on hand) and bell peppers of choice. Make sure to make up enough to fill each cup to heaping. Add salt, pepper, and Tastefully Simple Bacon Bacon to taste.

While everything is baking and simmering, grate enough Parmesiano Reggiano Cheese to sprinkle liberally over each cup. I get mine in a BIG wedge for uber cheap at Costco!)

Once Meatloaf Cups are done, remove from oven and let rest for a few moments. Then carefully begin removing the foil from the pan. THis allows you to "pop" the cups off of the pan. Remove toothpicks, and fill with veggies. Sprinkle with cheese and dinner is complete, and DELICIOUS!! Clean up is minimal. WOOT!


Would love to hear your comments on this one. Especially if you tried it out. I am always eager to hear what works, what doesn't, and also if I need to tweak how I give my directions. (Yes, I am a woman who can take constructive criticism -sorta).           Now go make it an easy peasy, crafty, blessed kinda day, yo!     XOXO, V.


My How the Time Flies!

I do apologize for the technical difficulties with the last blog. The photos were up, but somehow the link them has been broken. The photos will be back up once we get the link "fixed".

**Sidebar, I have moved since the last post, and am in interim quarters. Once my new scraproom is available, I will post the new space and how I have organized it. I have new ideas for storage, and am anxious to share them with you!**

Happy Crafting everyone, and make it a blessed one!

xo,
V.


Monday, August 6, 2012

I need to get groceries, I have to take my child to the ortho, I want to go to the gym, I would LOVE to turn on pandora really loud and make something beautiful...

How can you get everything done? How is it possible and still be sane? Balance.

Some days are in balance, somedays they scales are tipped so far off you just wann stay in bed and wake up tomorrow. We all have been there at some point. Hopefully today's post will help you get the scales tipped a ittle more in your favor.

I find that being a single gal, I have a more time than money for all of the things I need and love to do, so for me balance is finding the least expensive way to get where I wanna be. I share a condo with a great room mate, but my "studio" is in my bedroom. Often it is difficult to keep things neat while in the midst of a project. If I have more than one crafty endeavor going at once then forget it, my studio is a disaster and that reflects into my living space as well. Here is the photo of my work space. I have other items stored creatively within the room, but today we are focusing on the actual workspace itself.

As you can see, there are photo boxes (Yes lots of goodies inside them!) and pencil cups, and trays to help me to be organized, but it just wasn't quite enough to get it right. I wanted a Scrapbox, but who has nearly two grand to spend on one of those panaceas of organization? So I searched high and low for some sort of generic version, to no avail. Then I tried to find a shelf, or hutch to put on my desk top against the wall to clear my work space. This search was not yielding any results either until yesterday when I wandered into Target and boom, there it was. My needs were met, and only $26 for both! I found (2) different length Closet Maid shelves for shoes by the door, and connected them.

All I needed to do was clear my desk and get them built. It was more difficult clearing the desk than building the shelves, and the shelves only required a screw driver and hammer. All other hardware came in the box.


Once they were built, I just started putting everything away. I was organized from start to finish in less time than it took for me to watch the movie that was playing while I was "working".

My painting got hung, and now everything has a place with plenty of room for work. One big drawer is empty, so whatever I am working on, I can just essentially lay in the drawer and bring back out when I am ready to resume the project.

The Feng Shui of the room felt so much more at peace, and when I breathed in it was relaxing again. Balanced.

Next post will show the rest of the room and how I have managed to integrate my art supplies and their proper storage along side with my jeans and socks.

Maybe you have a whole room that is dedicated to your craft goodies, or just one small part of a closet. Whatever your situation is, just take a moment, and try to find the balance so that you can enjoy those precious moment of creative release!

XO,
V.

Finding Balance

Dont we all want to be happy, and content? I think so. But achieving that is sometimes tantamount to climbing Mt Everest.
We have work, spouses, children, volunteering, housework... This list of what we have to do, and what we need to do sometimes far outweighs what we want and love to do.
Balance is the key to contentment, fulfillment, and joy. This week, I will be sharing some tips to achieving that balance. More balance equals more crafty time right?
Well coming this week, look for a craft studio make over, a tip or two to make life easier in the kitchen, and even a little snippet for your soul.
Happy Monday, and lets make it a crafty one!
Kisses!
V.
P.S. Don't forget to like our FB page, Shabby Bling Studio. We are doing a random drawing for crafty goodness for every 25 "Likes"!

Friday, July 27, 2012

Well folks it's FRIDAY!!! For some it is just another day in the week, and others it's the end of the week and the start of the weekend.

For me it's both. LOL.

Invite Front                


Seriously though, I wanted to share my latest project. My friend's daughter is turning Sweet Sixteen, and having an 80's party to celebrate. She wanted something to reflect the party theme, but not 3D.

So here is my first pure DIGI creation... I have a long way to go 'till I get really good at it, but if anyone wants to order a custom invite similar to this, pick a theme and shoot me a message so we can get started. Once you give the go ahead on the proof, I send you the file in a PDF format that is already set up so that it just needs to be printed on white cardstock, and cut into quarters to get four invites per sheet. The fee is $25, and includes designs for both front and back of the invitation.


Enjoy your weekend, and have a blessed day!

xo,
V.


Invite Back