Thursday, February 28, 2013

Quickly alter a flower?

You can quickly alter a flower or any other time of embellishment with the use of an enhancer or two. I love enhancers. This would be mists, inks, paints, glitter glues, etc.

Take a look at this white fabric flower. They come on a strip, so you can make a border or cut one off and use individually.. I layered it with a very inexpensive daisy from a big box store. I just buy them in bunches, uber inexpensively, and then take them apart for use later.


Then I misted it with Bubble Gum Tattered Angels Mist. Then I used my heat tool to dry it, and added a bit of Glam Pink Stickles, and here ya go!

So go forth and alter!!! Who says you can't do this with flowers you cut from paper..?

Wednesday, February 27, 2013

Challenging your creative Mojo!

There is a new FaceBook group out there, and the members are joining by the droves to get a piece of the action! Ok, not by the droves, but still quite a few new members, and the action is really just a challenge. But I had ya going there for a minute right?

It's all about the presentation. It's everything! The manner in which something is presented can make all of the difference in the world to someone. A piece of plain cardstock is just that, plain, until you present it in a new and different light. So how about you dust off those tools you haven't used in eons and present some cardstock in a new and CREATIVE light??

Click on the link below to get to the group. Join the group. Join the event. Then craft on my sparkly friends, craft on!

Shabby Bling Studio Creative Challenges!


Now go have a SUPER Sparkly Day!

XO,
V.

Wednesday, January 30, 2013

A blast from the past to peruse...

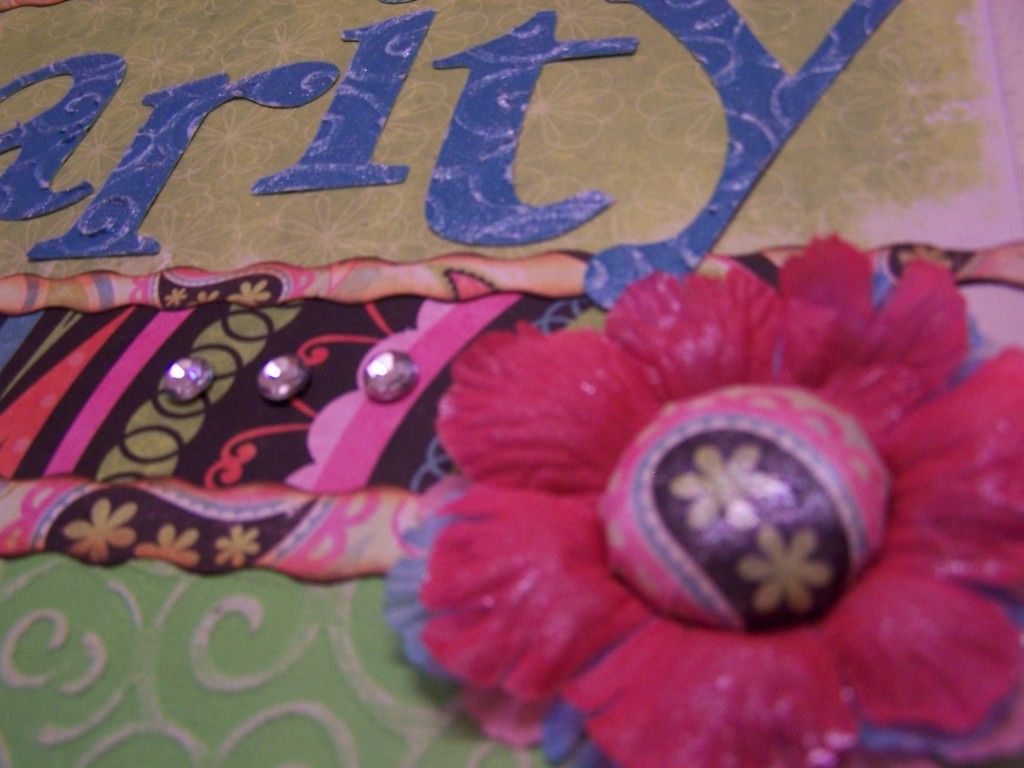
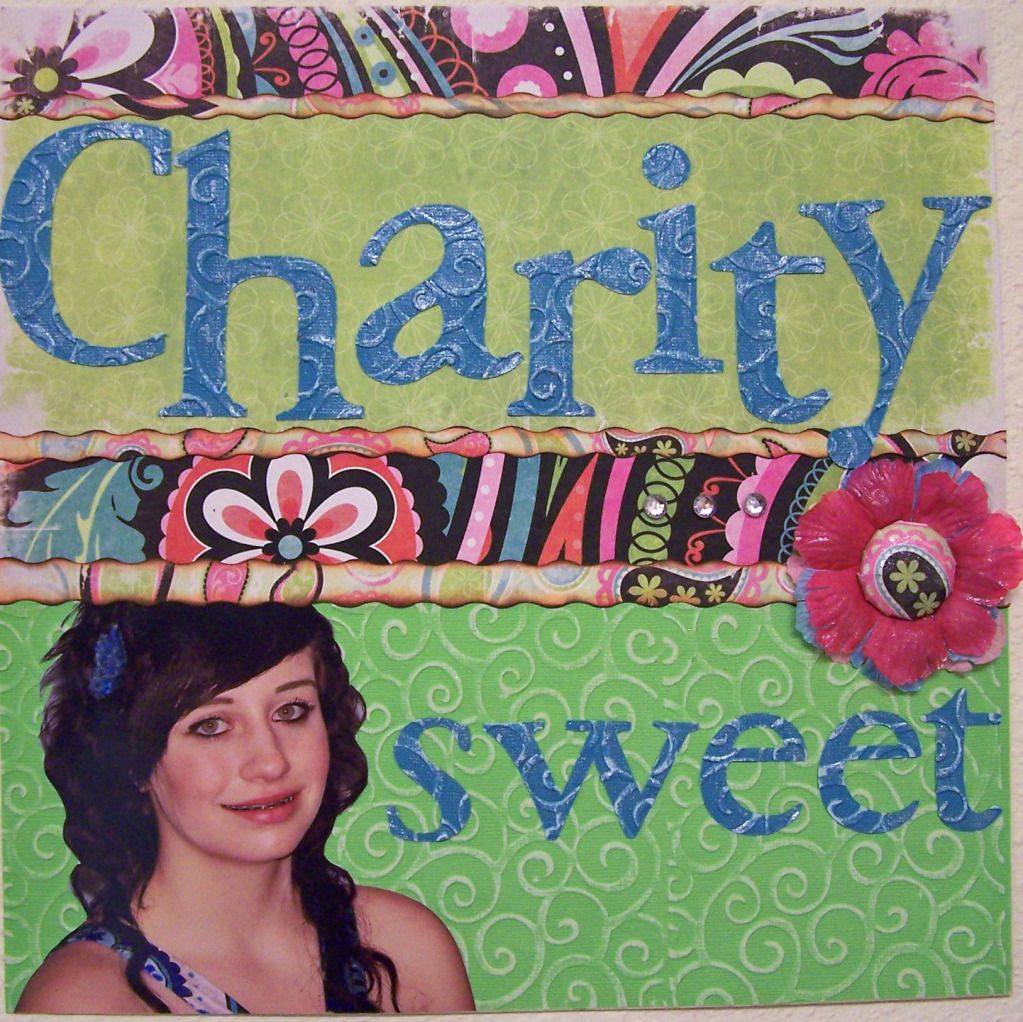
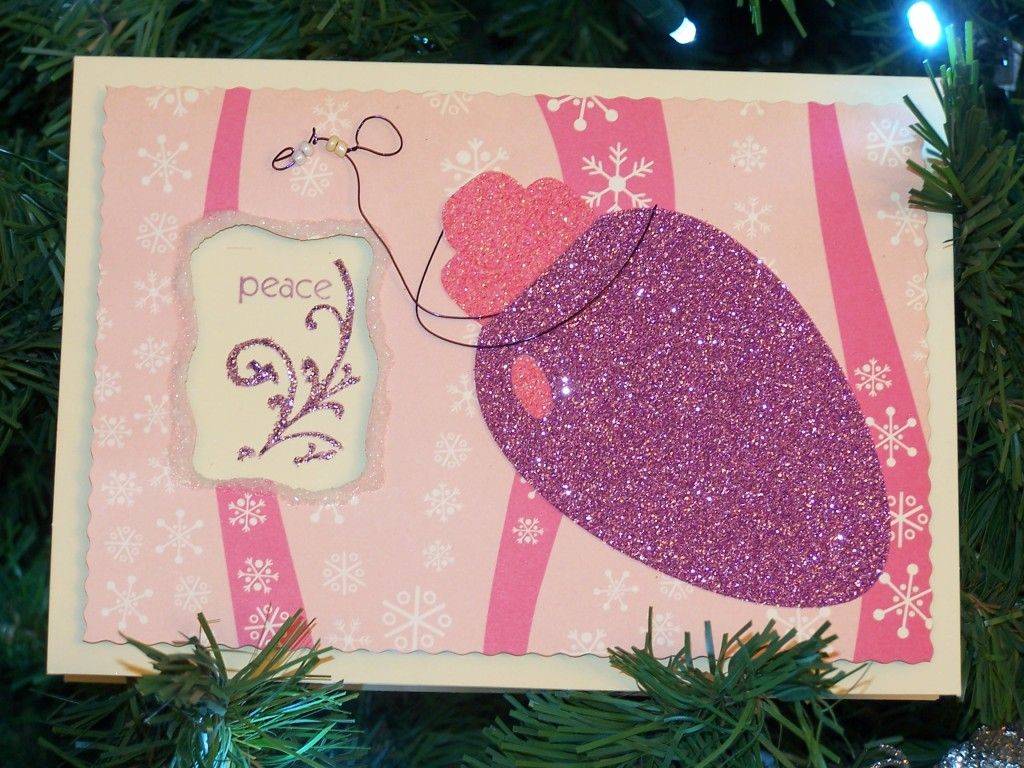
Just went through some old photos while cleaning out the old PhotoBucket account, and came across some older projects. Have you ever noticed how your style and preferences change over time? I truly did not realize how much my choice in supplies has changed in the past couple of years. Here are a few projects that go back a few years...hmmm...need to take some pics of more recent heart art to show ya'll the difference!


The layout above was with Core'dinations card stock, and let me say, once I started using them, I really haven't stopped...so that choice in supplies is still the same...  This card to the right was made with what I had on hand in my scraps I think...but I can see that even back several years ago I loved GLITTER. Maybe not that much has changed? I am thinking maybe it is my style of creating that has changed, not what I choose to create with.          
Has this happened to you too?


  Well this one below is one of my favorite projects ever.... I used Cosmo Cricket paper and coordinating fabric and the iTop from Imaginisce, Clear Scraps, Clearsnap inks and Beacon Adhesives for a great organization board. The project had been originally for my debut on the HSN channel for Purple Cows, but alas it would not fit in my luggage and I was not trusting my samples to arrive via a shipper. Now my dear friend Marti has it hanging in her craft closet and every time I go over there and see it, my heart gets all mushy. Isn't THAT what heart art is about?   Ok, this stroll down memory lane has been fun, time to go get a massage, a kiss from my honey, and my finger gooey in some NEW heart art. What are YOU going to create today?                                                                                                                                     

XO, V.        <3

Monday, January 21, 2013

The season of change...

Well, the time has come to vamp up this blog, get it back on track, mix some of the very old, with the new and no so new.. Please bear with me as I skip down the well worn path into the crafting world again. This time my own way, my own style, and with the loving support of my fam-bam, as an artist and author, a girl jst trying to fly free into her life...

Stay tuned for some changes, and I will be thrilled if ya'll give me your feedback and opinions!

Take care and happy Monday!!

V.

Tuesday, October 23, 2012

1 Spooky Banner, 3 ingredients!

I have no time. Moving  then moving again a month later, children coming back home to roost...work, volunteering...aaahhhh!!! Am I supposed to have a love life??

My life is scary enough without Halloween...hehe.

Here is the banner I made for my office. I used K and Co Halloween paper pads, black cardstock, with both silver and purple stickles. All of my letters and images i cut on my Cricut using the "Frightful Affair" cartridge.

Simply cut your letters, mat on pattern paper that is matted on solid card stock. I rounded the corners as well. I cut black ghosts, and used them to attach the top letters to each other.

Using the left over patterned paper, attach the bottom letters to each other and then to the top letters.

If this banner is going to be in a high traffic area or get a bit of wind, make sure to use a strong adhesive, and adhere cardstock on the back to reinforce all of the connector pieces. Cut and attach spider webs.
Then using your desired color of stickles or glitter glue, outline the letters. I also used black for the ghosts' eyes and mouths, as well as the spider webs.

XOXO!
V.


Monday, October 22, 2012

My How the Time Flies, Part Deaux (hehe)

It seems like only a couple of weeks ago that I posted last...but alas, it has been MUCH longer than that!
With  the holidays coming and everyone so busy, pressed for time, pressed for money, pressed for energy... I thought I would share a simple and FUN recipe with you all. I hope you enjoy (I know my family gobbled it up!).

**Warning, I use Tastefully Simple spices and herbs ALOT. So please, if you need a rep, I have a great one, use your own, or improvise on the seasonings, just make the recipe, your fam bam will applaud you!**

Veggie Stuffed Meatloaf Cups -Wrapped in BACON!

Meatloaf mixture

(I usuall set out the meat and eggs on the counter while I do my prep work, so that they are not so darned cold on my hands when I get to the mixing part.)

1 Pound Ground Beef
4 Eggs
2/3 Small Can Tomato Paste
1/2 Cap Tastefully Simple Onion Onion
1 Cap Tastefully Simple Garlic Garlic
1 Tablespoon Italian Seasoning mix (or to taste)
2 Tablespoons Brown Sugar
    Salt and Pepper to taste....
1 Thick Slice of Bacon and a Toothpick for each "Meatloaf Cup"

Mix well by hand, set aside

Pan Preparation
 Carefully wrap the back of a 6-12 cup muffin pan with foil. You want to ensure that every part of the back is covered -to avoid sticking to the pan itself, and easy clean up (Ya'll know how I heart me some easy clean up!). Spray with cooking spray.

Cover the back of each muffin cup with a thick layer of the meatloaf mixture, and make sure you don't have too much meat on the flat of the pan between cups...

Once the meatloaf mixture is in place, then wrap a bacon strip around each cup and secure with a toothpick.

Cooking
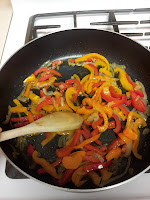
Set Muffin Pan on an elevated cooling rackwith a large cookie sheet or pan underneath to catch all of the grease, then place it in the oven for 20-25 minutes at 450 degrees. (If necessary to get desired color and crispness, place pan under broiler for five minutes).

While this is baking, slice up red onion (or whatevr you have on hand) and bell peppers of choice. Make sure to make up enough to fill each cup to heaping. Add salt, pepper, and Tastefully Simple Bacon Bacon to taste.
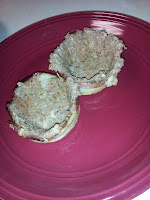
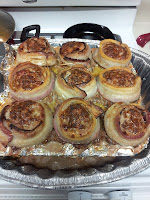
While everything is baking and simmering, grate enough Parmesiano Reggiano Cheese to sprinkle liberally over each cup. I get mine in a BIG wedge for uber cheap at Costco!)

Once Meatloaf Cups are done, remove from oven and let rest for a few moments. Then carefully begin removing the foil from the pan. THis allows you to "pop" the cups off of the pan. Remove toothpicks, and fill with veggies. Sprinkle with cheese and dinner is complete, and DELICIOUS!! Clean up is minimal. WOOT!


Would love to hear your comments on this one. Especially if you tried it out. I am always eager to hear what works, what doesn't, and also if I need to tweak how I give my directions. (Yes, I am a woman who can take constructive criticism -sorta).           Now go make it an easy peasy, crafty, blessed kinda day, yo!     XOXO, V.


My How the Time Flies!

I do apologize for the technical difficulties with the last blog. The photos were up, but somehow the link them has been broken. The photos will be back up once we get the link "fixed".

**Sidebar, I have moved since the last post, and am in interim quarters. Once my new scraproom is available, I will post the new space and how I have organized it. I have new ideas for storage, and am anxious to share them with you!**

Happy Crafting everyone, and make it a blessed one!

xo,
V.